npi’s guide to Two Electrode Voltage Clamp in Xenopus oocytes
Content
Introduction
Equipment
Oocyte preparation
Recording
Additional tips
Two Electrode Voltage Clamp in Xenopus oocytes
Introduction
What is two-electrode voltage clamp?
Two-electrode voltage clamp is a recording technique that uses separate electrodes for current injection and voltage measurement into the same cell.
Why use two electrodes?
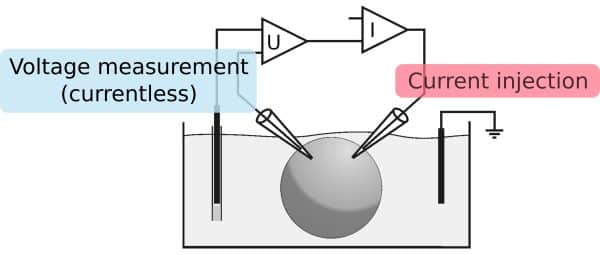
By separating current injection and voltage measurement, we can have in injection of high currents through one electrode and a precise voltage measurement at the other electrode.
What are typical applications for two electrode voltage clamp?
Two electrode voltage clamp is most commonly used in oocytes from Xenopus laevis. Another application is clamping large muscle cells, when studying neuromuscular junctions.
Why use oocytes from Xenopus laevis?
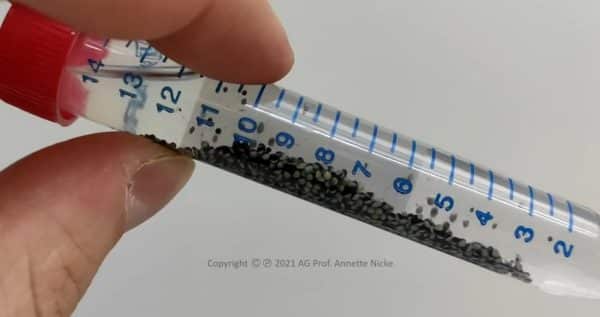
Using Xenopus oocytes has several advantages. The cells are big and easy to handle.
Overexpressing channels or transporters makes their recorded currents very large compared to the currents from the oocyte’s intrinsic channels and transporters.
Quick results: e.g. the time from generating an ion channel mutant (over DNA extraction, RNA reverse transcription, injection, expression) to recording can be as short as one week.
Equipment
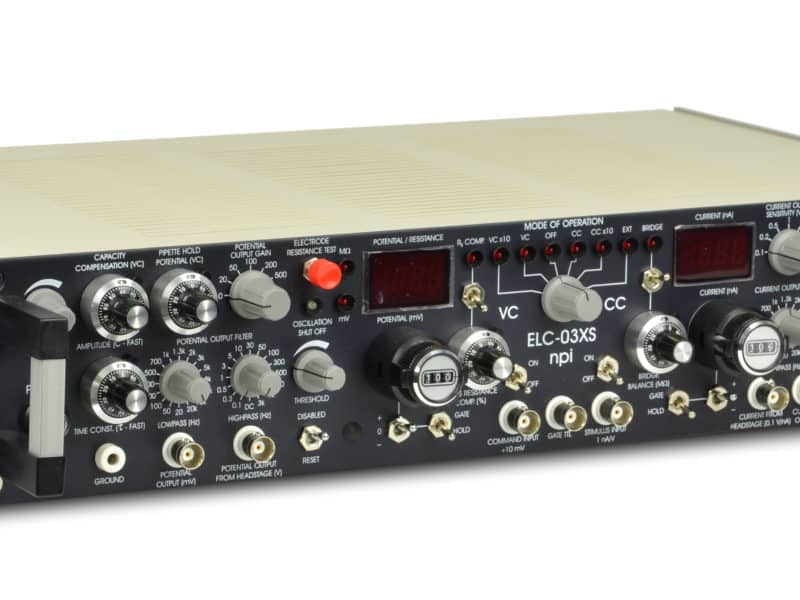
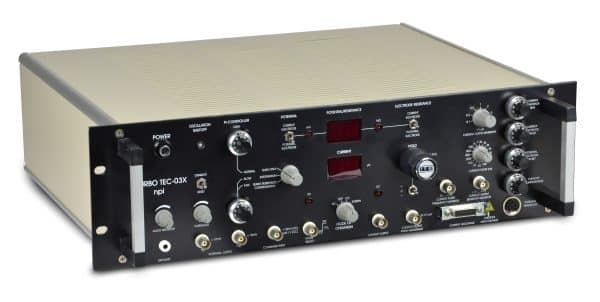
Amplifier
Electrodes
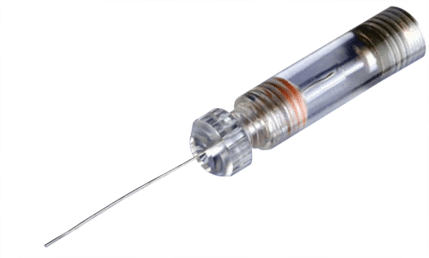
The glass electrodes are filled with e.g. 1 M KCl solution and clamped into an electrode holder, where a chlorinated silver wire establishes the electrical connection to the KCl solution.
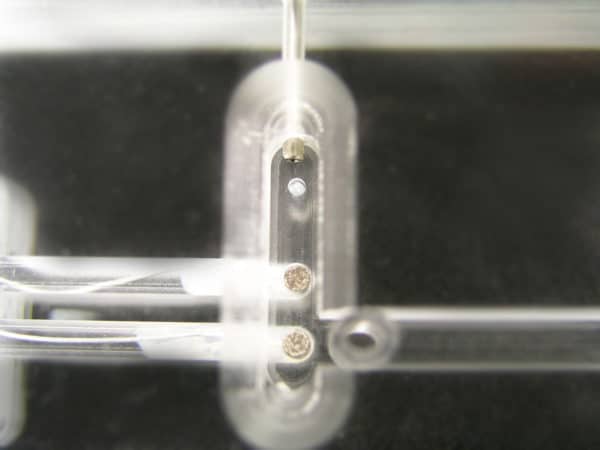
To close the electrical circuit, grounding electrodes are inserted into the recording chamber. These can be simple chlorinated silver wires or sintered Ag/AgCl pellets.
In experiments, where the Cl- concentration in the applied solutions is changing, an agar bridge is used to maintain a stable baseline.
Micromanipulators
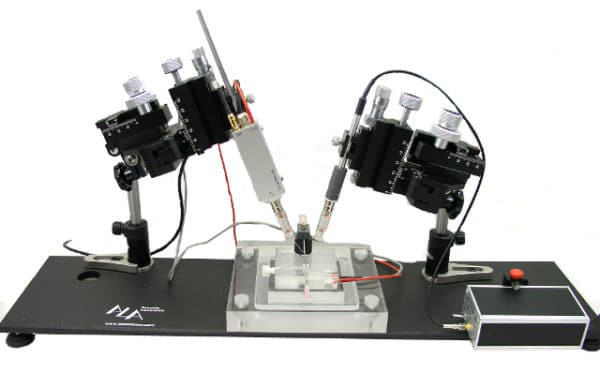
Recording chamber
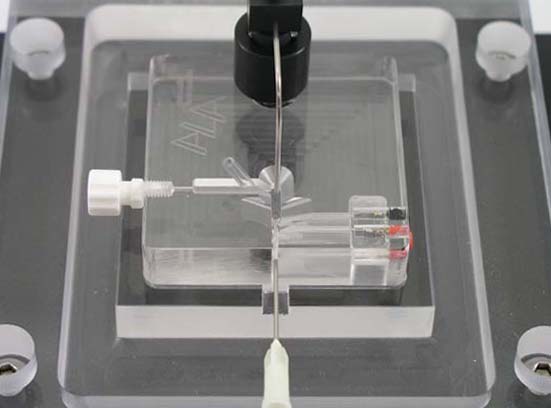
The recording chamber must have a grove or similar structure to stabilize the oocyte and hold it in place. The chamber needs to be large enough to allow placement of grounding wires or pellets and perfusion inlet and outlet.
Stereomicroscope
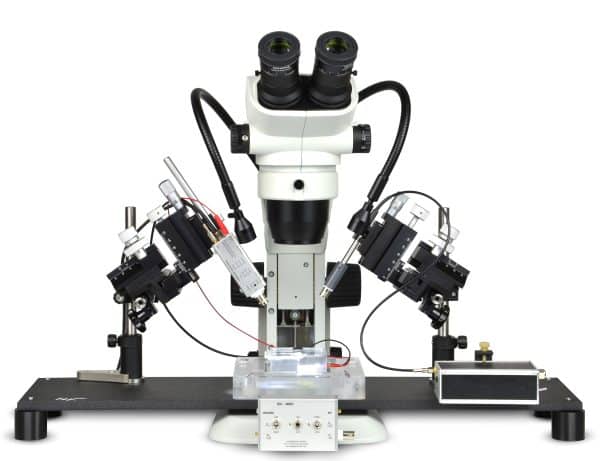
The same applies for the injection setup. A good stereomicroscope helps placing the oocytes in the correct orientation and placing the injection pipette without damaging the oocytes.
Light source
Observing the oocytes through a high magnification stereomicroscope requires a light source. This can be an LED ring light or a gooseneck cold light source. The advantage of goosenecks is that they can be freely positioned over the recording chamber. This helps minimize reflections on the liquid surface.
Keep in mind that light sources may introduce electrical noise into the recording setup. Therefore, it might be necessary to switch off the light source or even disconnect it from mains during recording.
Perfusion system
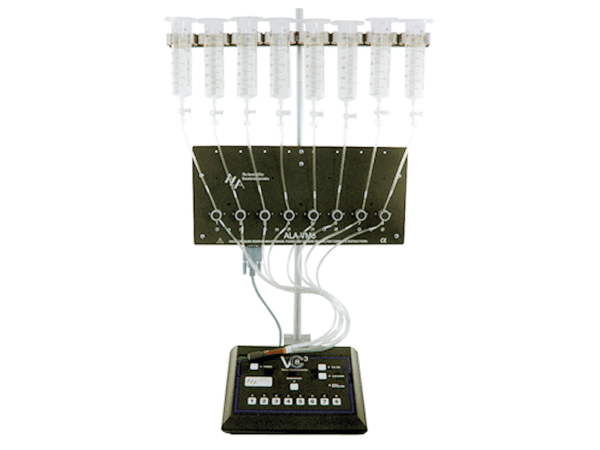
Usually a gravity-driven perfusion system is sufficient for oocyte recordings. These are commercially available with 4 or 8 channels. Some have analog or TTL inputs and outputs, that allow synchronization with the data acquisition system.
For long term experiments where switching between different solutions is not important, a peristaltic pump that feeds solutions from a large reservoir (laboratory flask) works well.
Data Acquisition
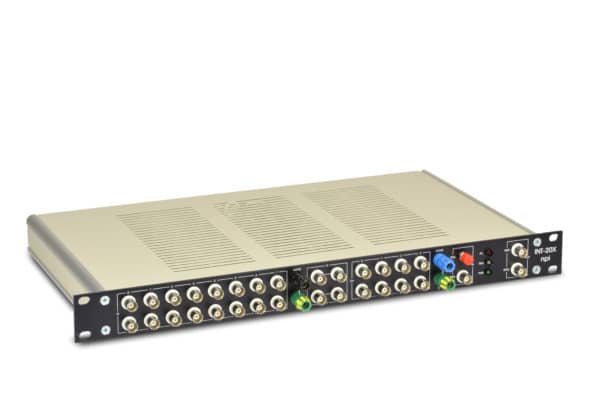
Interfaces or digitizers usually have several analog inputs, a few analog outputs, and a number of digital inputs and outputs. These are mostly available as BNC connectors at the front panel. For basic two electrode voltage clamp recordings, only two analog inputs and one analog output is required.
The most common commercially available software solutions work well for two electrode voltage clamp recordings in xenopus oocytes. Some of them also have analysis tools for I/V curves or similar.
Injection system
The amount of RNA solution injected into the oocyte is usually in the nL (nanoliter) range. This can be achieved by hydraulic nanoliter injectors or pressurized systems. While hydraulic systems seem to be complicated in the beginning (oil can be messy), this is the most reliable method for repeatable injection, especially if several different volumes are required. A back-filling needle helps to prefill the capillaries with oil.
To mount the hydraulic injection system, you will need a good mechanical micromanipulator and a stereo microscope for visual control. Furthermore, a petri dish where several oocytes are held in place (e.g. by a grid) is required.
Oocyte preparation
Necessary solutions
ND96, ORi (Oocyte ringer solution) are commonly used solutions when working with oocytes. Whenever possible, work with stock solutions (e.g. 1M solution of the standard salts, or 10x concentrated ORi or ND96), as this will speed up the mixing of new solutions.
Surgical procedure
This will not be described here.
Handling oocytes
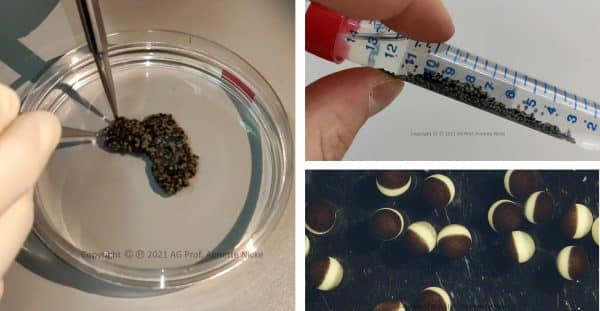
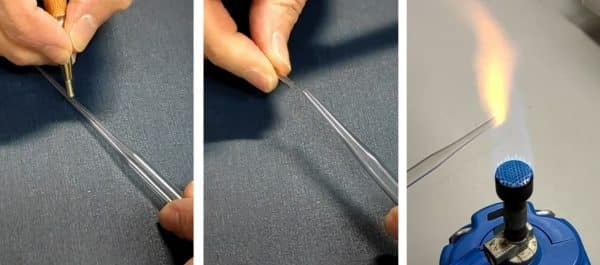
A good tool to safely move or transfer oocytes is a modified Pasteur pipette: cut off the narrow tip until the opening is wide enough for oocytes. Then polish the cut end with a flame. Oocytes are usually stored in small petri dishes.
RNA injection
RNA injections are usually done with glass pipettes. The capillaries are pulled with a microelectrode puller. For injection, the opening should have an outer diameter of ~30 µm. This can be achieved by breaking the pulled glass capillaries under a microscope or a microforge.
There are pneumatic systems available for injection. Some have vacuum for front filling of the capillaries. The amount of injected RNA solution with these systems depends not only on pressure and pulse length, but also on the geometry of the pipette tip (opening diameter and shape of the tip).
Hydraulic injection systems work independent of the pipette’s geometry. They use mineral oil and a piston moving inside the glass pipette. These systems allow precise and repeatable injections. This is especially useful when having highly expressing channels, as it allows low injection of tiny amounts (few nL).
Incubation
After the injection, oocytes are incubated for 2-3 days at 16°C. There are temperature controlled incubators availabe, but a simple wine fridge also does the job.
Make sure to regularly check for mold or leaking oocytes. Depending on the expression rate and oocyte viability, recordings can be made from day 3 to day 7.
Recording
Preparation
Prepare the necessary solutions or take the ready-made solutions out of the fridge to get them to room temperature.
Switch on amplifier, digitizer and computer. Especially the amplifier will need some time (30 – 40 min) to warm up to make accurate measurements.
Prime the perfusion system: fill the reservoirs and make sure each channel is running smoothly without having air bubbles in the tubing. Prime perfusion system – no bubbles
Fill the recording pipettes with KCl solution (1 M). When working with electrode holders that use chlorinated wires to establish electrical contact, make sure not to fill the capillaries completely. Otherwise, KCl solution will spill into the electrode holder. This solution will later dry and might cause problems in the long run.
Placing the electrodes
Place the oocyte into the recording chamber. Let the oocyte orient itself with the animal (dark) pole facing up.
Put the electrode tips into the solution, then nullify the offsets of both current and potential electrode.
Approach the oocyte with the tips of the recording electrodes. If available, turn on the audio monitor of the TEVC amplifier.
A gentle way of impaling the oocyte with the electrodes is the following: move the electrode tips towards the oocyte, until a clear dent is visible in the oocyte’s surface. Then, tap at the screw of the manipulators approach axis with a pair of forceps or a similar metal instrument. Successful impalement is indicated by a change in potential – visible at the amplifier’s potential display or audible as a tone change in the audio monitor.
To reduce tension, carefully retract the recording electrode until the dent in the oocyte’s surface almost disappears.
Perform recording
After electrode insertion, let the oocyte rest until the membrane potential stabilizes. The amplifier can then be switched to Voltage Clamp. A holding potential of -40 mV is a good starting point for many recording protocols.
Addtional tips
Use freshly chlorinated Ag wires
There will be large currents in two electrode voltage clamp. This will result in a rapid depletion of the AgCl layer, especially at the wire in the current electrode and the grounding wire. In consequence, it might be necessary to use freshly chlorinated wires for every new oocyte. Therefore, it is good practice to have a couple of wires or electrode holders to use in turns.
Rinse your perfusion system – and dry it
Rinse your perfusion system after every use. Tubing with liquid in it may get moldy over time. Furthermore, salt may crystallize inside the tubing, causing air bubbles to stick.
Empty the reservoirs from the application solutions. Then fill them with deionized water and let them run empty.
Finally, use the plunger that comes with the reservoirs (syringes) and push out all liquid, so that the tubing is dry.
Clean the chamber and the surroundings at least weekly
Even tiny spills of solution can build up salt bridges. These form an electrical connection between parts of the setup, that should not be connected, or parts that are already connected via a grounding wire. This may lead to ground loops which can introduce noise or hum to the recording. Removing spills and keeping the setup clean is key for better signal quality.
About the author:
Dr. Jens Looser
- Studied Biology at the University of Würzburg
- Did his PhD thesis in Georg Nagel’s lab, characterizing light activated proteins (Channelrhodopsin and PAC) using the two-electrode voltage clamp technique in Xenopus oocytes
- Joined npi in 2010. Working in sales & support, doing installations and trade shows.


